Visual Studio is an IDE (Integrated Development Environment). It is developed and maintained by Microsoft. We can develop windows as well as web applications using this IDE. It also comes bundled with a template to create an Angular application. Therefore, it is a popular IDE among windows and web application developers.
The Community edition of the IDE is free to download. And, currently Visual Studio 2019 is the latest version available.
Steps to download and install Visual Studio 2019 Community Edition
Let’s follow the steps below to download and install Visual Studio 2019 Community Edition on a system running Windows operating system.
Step 1 : Open the following URL in a browser on your Windows desktop or laptop.
https://visualstudio.microsoft.com/downloads/
Step 2 : Click on Free download for Community edition. We are using Windows operating system. So, it will automatically detect your operating system and download a “vs_Community.exe” file on to your system.
Step 3 : Double click on the downloaded exe file to start the installation process.
Step 4 : It will display the below prompt on your computer. Click “Continue” to proceed.

Step 5 : In the next screen, select “ASP.NET and web development” for now.

Make sure that your system is connected to the internet. Now, click “Install”. It will take sometime to download and install.
Step 6 : After installation it will automatically launch Visual Studio and display the below prompt.

You can click “Not now, may be later.” and proceed. But we recommended to create an account if you don’t have one by clicking “Create one!”. If you already have an account then simply sign in to the Studio by clicking “Sign In”.
Step 7 : In the next screen select the theme you like (Though we like the Dark theme! :-)). Then, click “Start Visual Studio”.

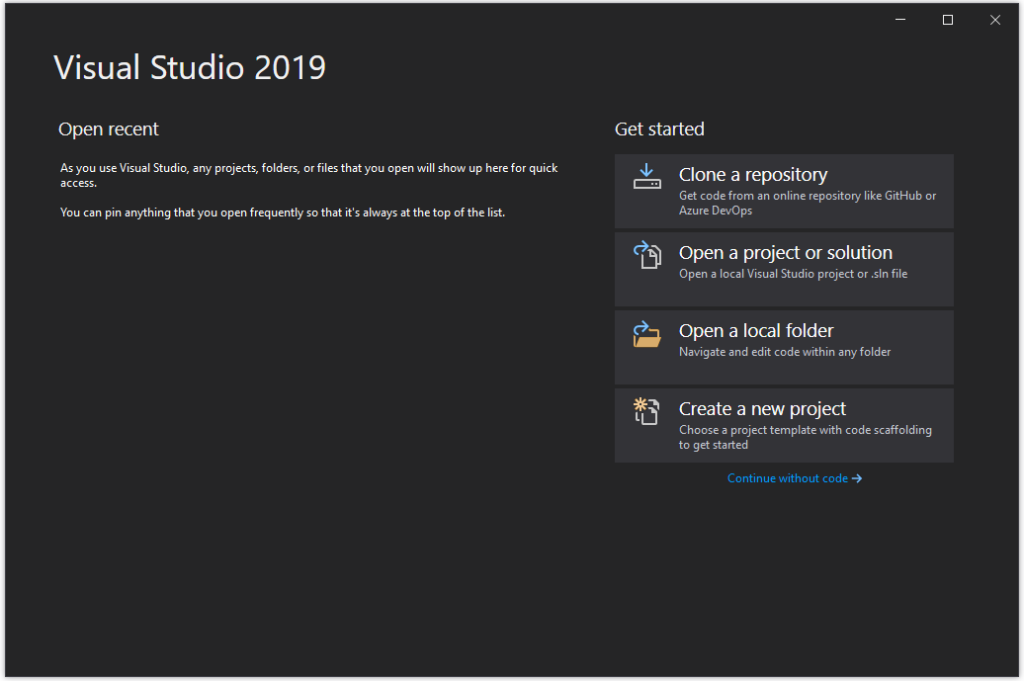
Now, it will display the project or solution explorer screen like below.

We have successfully installed Visual Studio 2019 Community Edition. Now we can create a new project and start writing code.
